Week 5
In week 5, we were taught by Dr Noel on how to draw objects using one-point and two-point perspective. To be honest, I felt like this was the biggest challenge I have faced in this module so far. Drawing definitely is not one of my strengths, however, I persevered and tried my best to follow the lesson.
The example that we were given for the one-point perspective was a milk carton 🥛while for the two-point perspective, it was a coffee maker.🍵
Here are my attempts at the sketches:
This is my group's drawing of our eventual product, a coffee maker, after COWS.
Following this, we were introduced to Computer aided drafting and drawing (CAD). This is where we learnt how to use Autodesk Fusion 360 as we tried to familiarise with the many functions that it provides. We practiced by drawing circles, photo frames and a keyring with our names on it.
Here is my attempt at making the keyring. I found this easy as the instructions provided made the process rather straight forward. I found this really fun as well and without hesitation, I immediately went on to draw the photo frame.
Drawing the photo frame was slightly more difficult. The steps given were less specific and I had to use techniques that I learnt from previous practices. After two attempts, this was my final attempt on making the photo frame. Unfortunately, I am still unable to figure out why the circles on the sides of the frame doesn't appear.
Practical 2
In practical 2, we did an activity that is related to cardboard joinery. As a group, we were supposed to produce a cardboard model that uses at least 6 of the cardboard joinery methods that were introduced to us. Afterwards, we had to present to the class on what our cardboard joinery was about. My group, which consists of Hong yi, Weng Yan, Isabelle and myself, decided to make a train as we all liked trains.🚅
Before starting, we had to plan on what cardboard joinery methods we can include in our model.
Flange- Chimney
L-brace- Body of the train
Wiring- Back compartment of the train
Cut-slot- Flag
Zip ties- Windows
Fasteners- Wheels
Skewer- Connection between main and back compartment of train
With the planning done, we could finally move on to measuring and cutting the cardboard pieces.
Process of making the train
First, we focused on making the wheels, this was done quickly by measuring rectangular pieces of identical dimensions and cutting them out. We then folded them up such that they made a circle shape and we used masking tape to keep the shape. This process took a while as there were many wheels to cut out. It was also our first attempt at cutting the cardboard and we had to ensure that we did not use too little or too much strength while cutting. However, we slowly picked up the pace and continued to work on other parts of the train as well.
While Hong Yi, Weng Yan and I were focusing on making the wheels, Isabelle was drawing out the dimensions of the body of the train and making the flange. I was then tasked with cutting out the body of the train. The chimney was made using a larger rectangular piece of cardboard, whereby it was rolled and had its ends taped together. We then cut strips on one end of the cardboard.
With the body of the train cut out, we used small rectangular pieces of cardboard to act as L-braces. We used our own kind of double sided tape to stick the pieces of rectangular pieces on the inside of the body of the train.
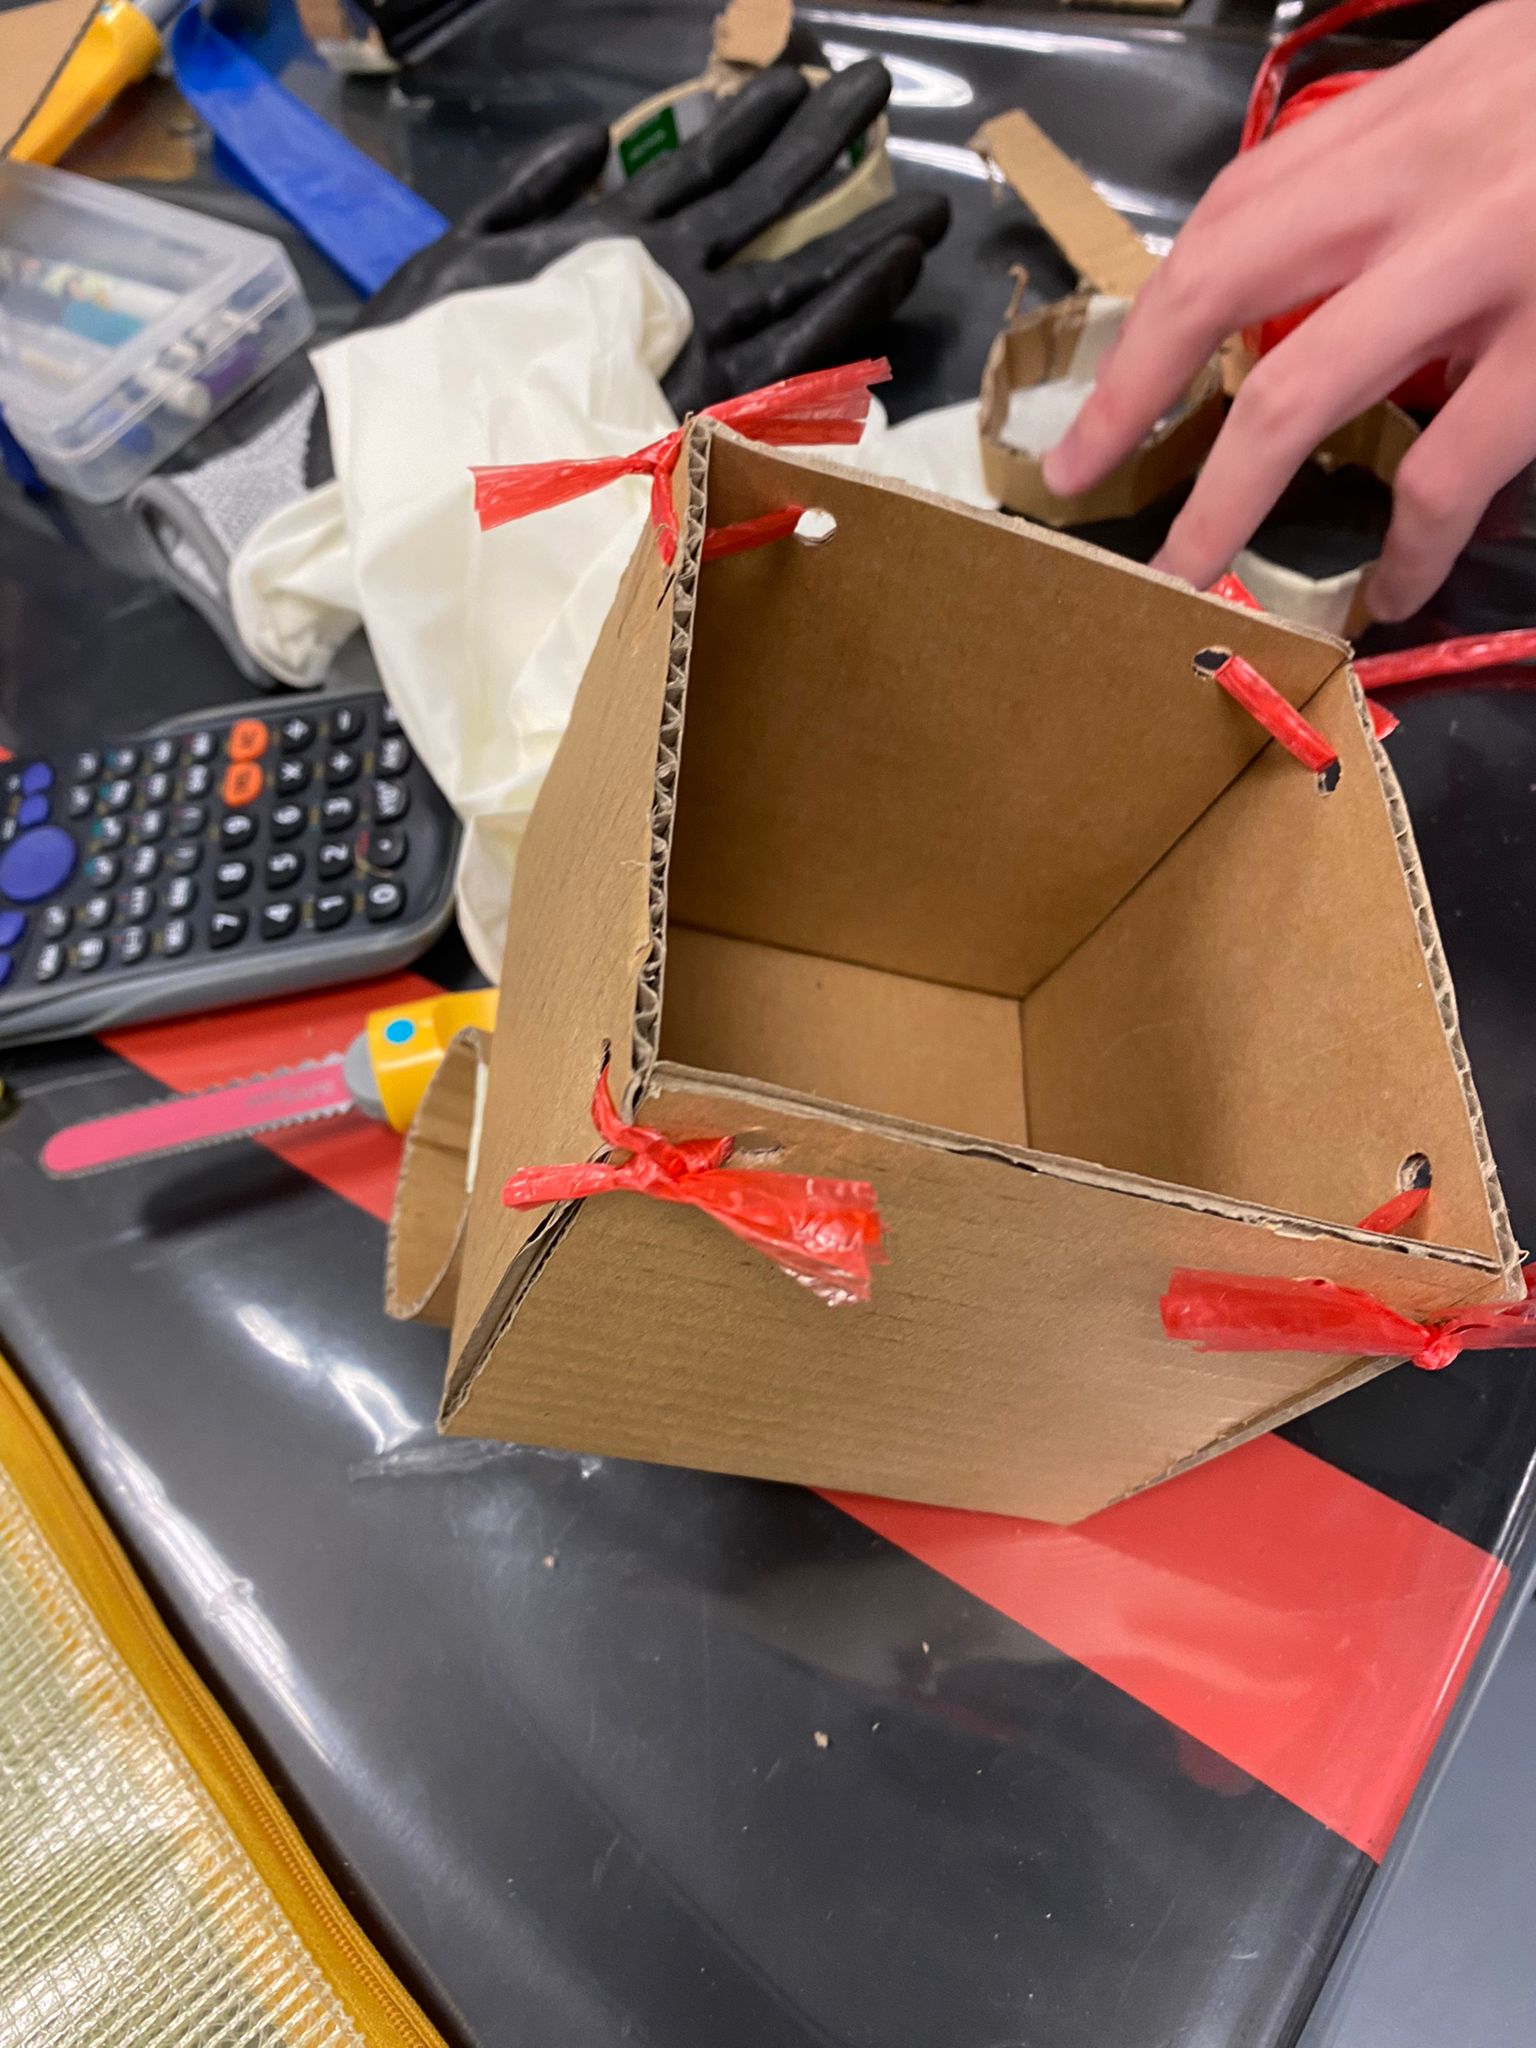
At the same time, we worked on the back compartment of the train. The back compartment of the train used wiring. We punched holes on the top corners of the cardboard and used a wire to tie a knot. This helps to hold the cardboard pieces together.
The next step was to connect the wheels to the body of the train. We used brass fasteners to connect the wheels to the base of the train, which was a separate piece of cardboard.
At this point, there was very little time left and we decided that the rest of us should continue with making the windows. This is how our window works:
Finally, all we had to do was combine all the parts together. We used skewers to connect the front and back of the train by poking small holes that barely fit the skewers to give it a tight fit. We also glued the flange to the top of the train to make it act as a chimney. Using cut-slot, we slot the flag into the back compartment of the train as well. With just barely enough time, we managed to finish our cardboard model.
Reflection
After completing the model, I felt that there were definitely some improvements that we could have made. However, there were also some actions that we took that helped us complete our model quicker and better. I felt that our planning of the model was really good but we should have split the roles more. This would allow us not waste as much time and we could possibly have used the time to improve on any part of the train to make it more aesthetically pleasing.
I also feel that we could have used less glue and other methods that were not related to cardboard joinery because that was the point of this practical. However, this is our first practical for cardboard joinery, hence, I hope that the next time we do cardboard joinery, we can use more cardboard joinery methods. Overall, the process of making the model was rather smooth as we were not really rushing and we barely had any disagreements.


.png)
.jpeg)


.jpeg)
Comments
Post a Comment