Design specifications
Design specifications provide product design teams with information that they need when building out new features or funtionality of a product.
It allows them to answer questions such as "what are we building?", "what should the final build achieve?", and "how do we measure success?"
To make a design specifications table, we first need to know the material specifications, the functional/performance specifications, the standard specifications and the test standards. As we are in the preliminary design stage, the focus will only be on material & functional/ performance specifications.
For CA2 report part 5, we were tasked to create a design specifications table for our coffee maker, a sketch and to name our coffee maker. We decided to name our coffee maker Expresstoes.🦶 We felt that coffee makers that are sold in the market nowadays are not really catered to teenagers' taste so we wanted to make a coffee maker that does not taste like toes.
Aspect | Specification Metric (or Quality) | Quantitative Value |
Physical | Battery operated | 500W
|
Lightweight | <1kg |
Compact? | 300mmx180mmx150mm
|
Functional | Temperature resistant | Withstand temperatures above 100℃ |
Water Proof | - |
Minimal setup time | <10 second |
Easy to use | - |
Others | Inexpensive | <$400 |
Prototyping
Prototyping allows the designer to:
-Have a solid foundation from which to ideate towards improvements, giving them a clear picture of the potential benefits, risks and costs associated witgh where a prototype might lead.
-Adapt to changes early thereby avoiding commitment to a single, falsely-ideal version and later incurring heavy costs due to oversights.
-Show the design to the users to gather feedback to help pinpoint which elements work best or whether a change is needed.
-Get insights into less-obvious areas of the users' world, for example, how they might use it in an unintended way.
-Provide a sense of ownership to all concerned stakeholders, which could foster emotional investment in the product.
-Improve time-to-market by minimizing errors to correct before product release.
Fabrication process
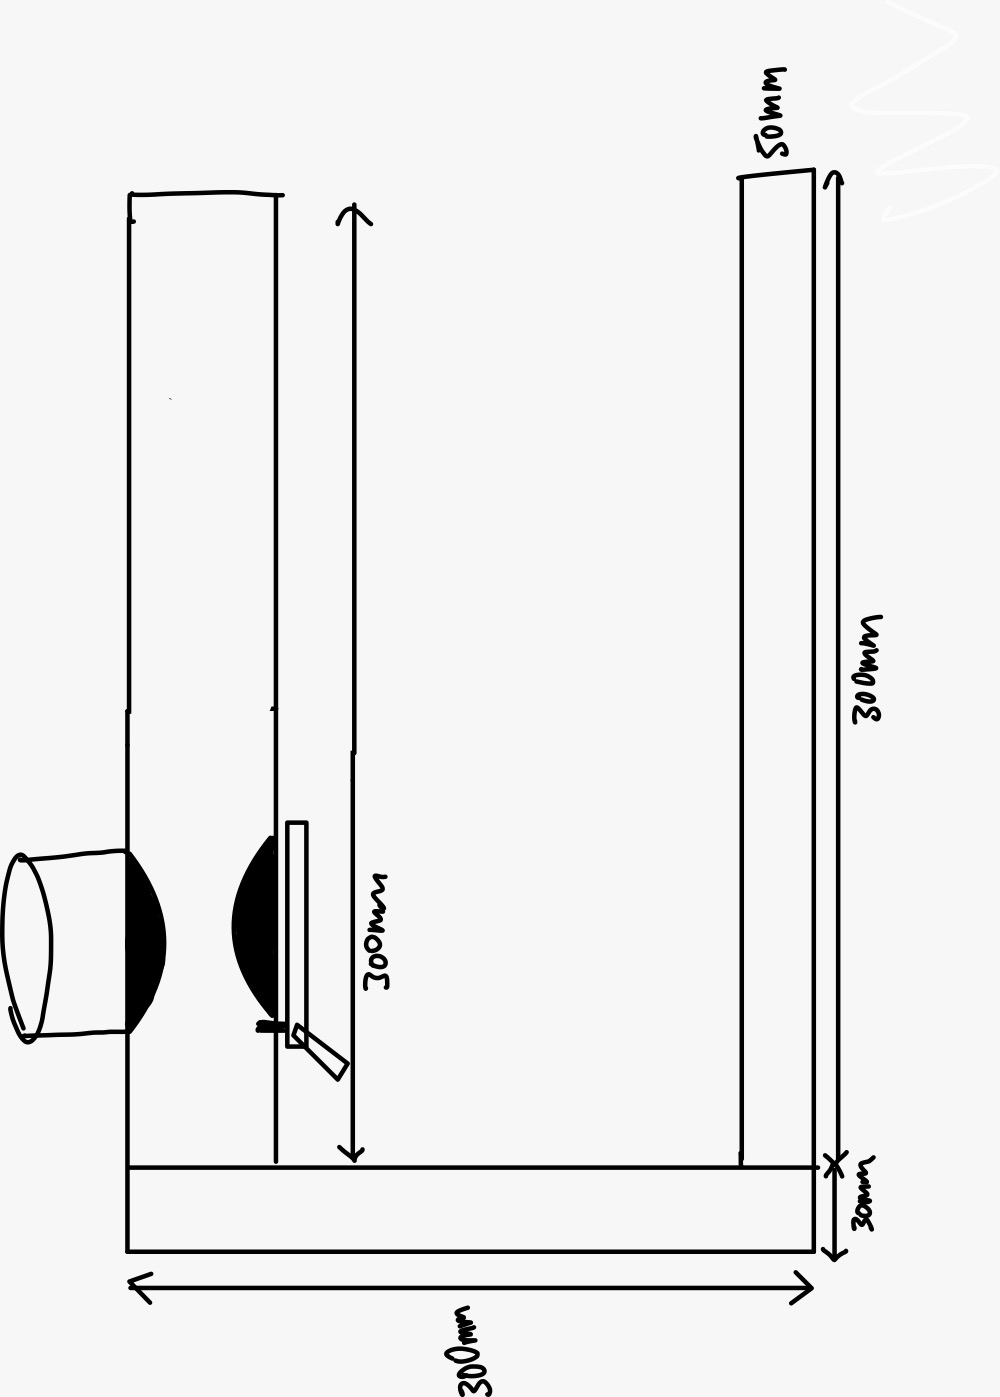
We started our fabrication process by creating the 3 main components of our coffee maker: the top, the backing and the base. We drew the dimensions of each of the main components and cut it out as perfectly as we could, We then folded it and used tape to keep the shape of the cardboard.
As you can see from the picture above, we used a lot of tape to keep it together and after finishing the product we felt that we could have used the cardboard joinery methods that we learnt earlier in the year to make the prototype look nicer and at the same time use lesser resources.
Next, we had to cut the opening in the top component of our coffee maker to fit the water container (the pringles can).
Afterwards we decided that having too tall of a pringles can as the water container could possibly be dangerous for the coffee maker, hence we decided to cut it down using a saw and a clamp. We made sure to use safety gloves for this!🧤
Last but not least, we had to make our working mechanism. We decided to use a lever to stop or start the flow of the hot water by turning it to block the opening in the pringles can or to keep it open. We then used a brass fastener to fasten the lever to the upper component of the coffee maker. This is how it turned out.
Here is the fusion360 model of our prototype!
Our hero shot.👥


.jpeg)

Comments
Post a Comment